
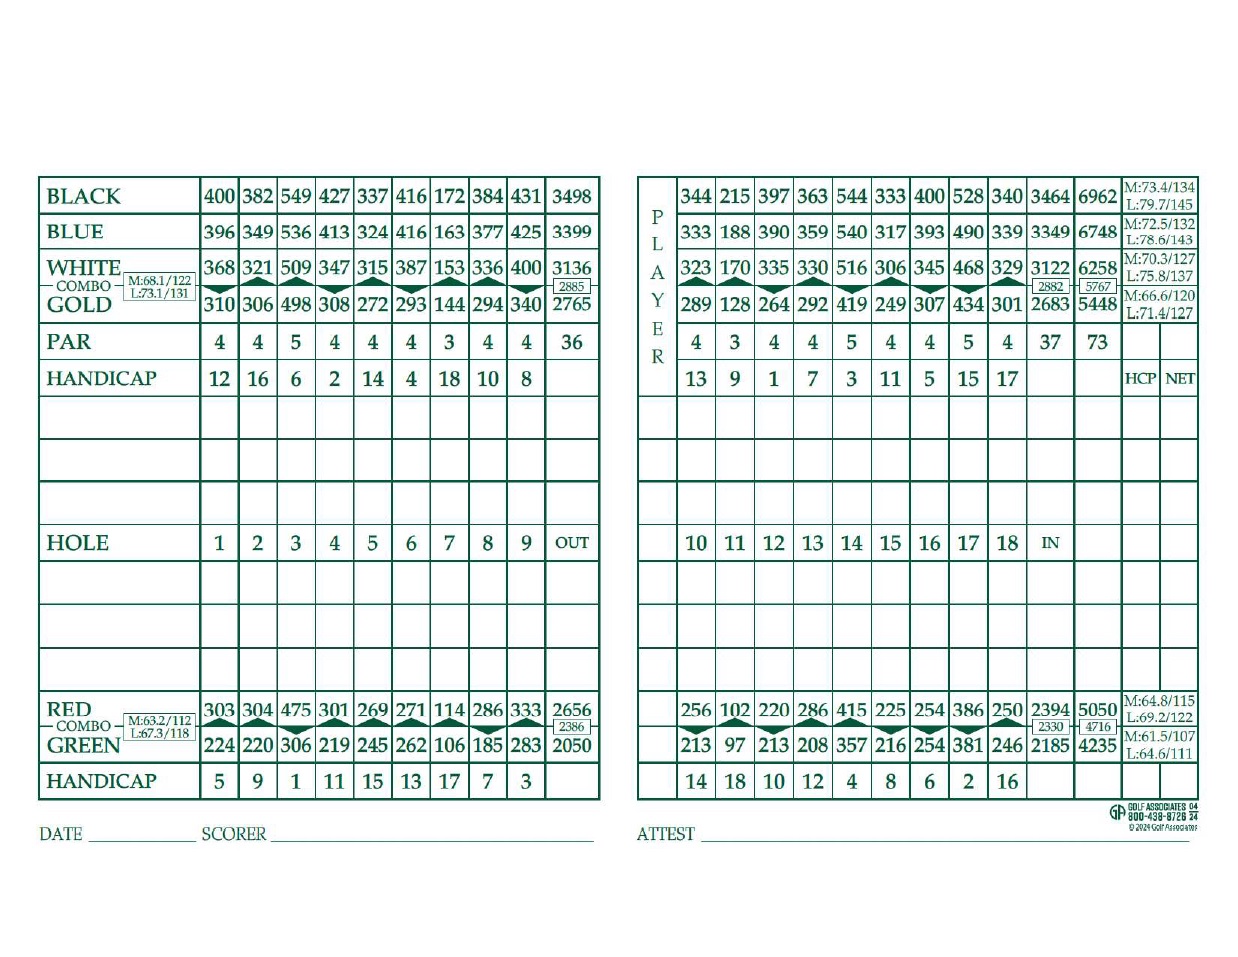
The golf course at Chambersburg Country Club has been recognized as one of the finest and most challenging in the state of Pennsylvania hosting numerous state and local championships as well as three USGA U.S. Open qualifying events. With six sets of tees, the course accommodates players of all skill levels. Golf facilities also include an award-winning pro shop, putting green, spacious grass practice range, and a dedicated short game area.

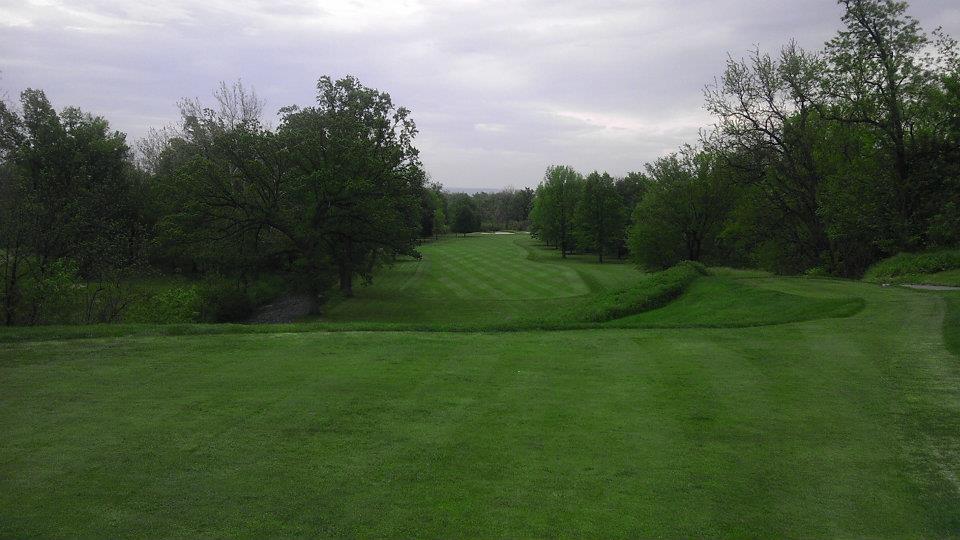
Hole #1
An uphill dog-leg left to start the day. Your target from the tee is the left side of the “hump” in the middle of the fairway. Your drive should leave a mid-iron into a well bunkered green. The longest hitters may be able to take the drive at the green from the tee. Be carefully not to miss the green long as over the green is not a guaranteed bogey!

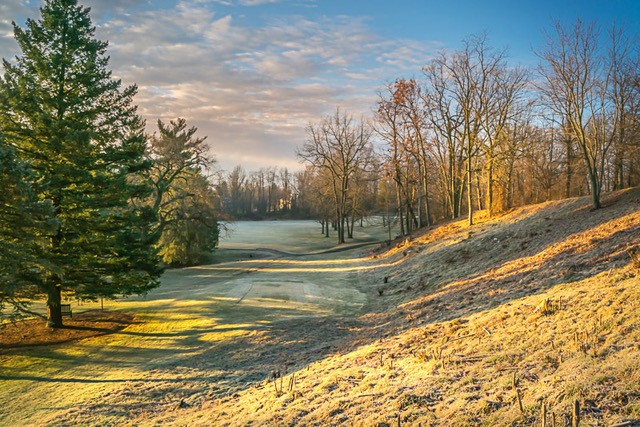
Hole #2
Please do not let the short yardage fool you. The second hole can be a difficult hole if accuracy is not your priority. An elevated tee box makes teeing off with something less than driver the norm. The elevated green makes club selection on the second shot key to scoring well on this hole. The long narrow green slopes back to front to receive a well played second shot on your way to a birdie.
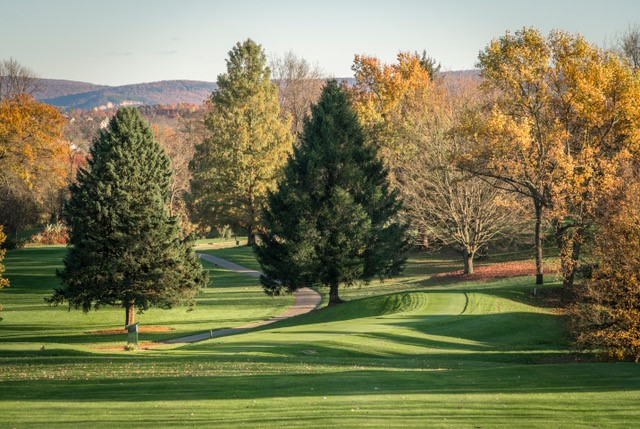
Hole #3
A par 5 with a difficult driving to start. Lateral hazards are in play on both sides of the fairway as the fairway bends slight left to right from the tee to the green. The elevated tee shot helps to boost the distance on your drive. You’ll likely be left with 225-275 yards into a large, sloping green. The fairway moves back to the right for those who will play it as a 3-shot hole. A 4 here is a great score as the green is guard on both sides by deep bunkers leaving little room for error.

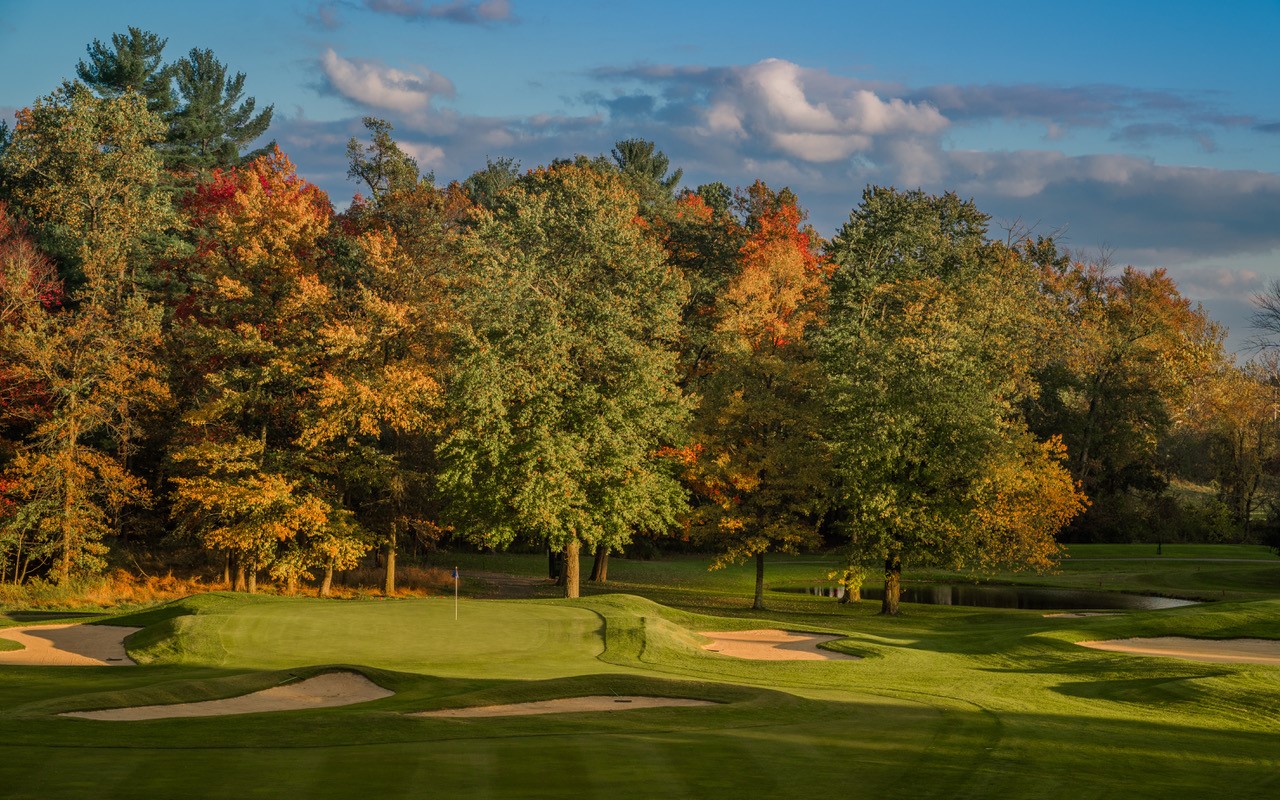
Hole #4
This hole is consistently ranked as one of the most difficult pars on the course. A straight tee ball will be fine to start. Two water hazards pinch the fairway in front of the green, which maybe intimidating. The real challenge comes from one of the most difficult greens on the course. Due to a back to front slope, anything past the pin will leave a near impossible two putt.
Hole #5
One of the most unique holes at CCC. The tee box sits 30 yards above a tight tree line fairway. A good drive passes the trees on the right should leave a short iron to an uphill green. Be careful, a drive over 240 yards might be through the fairway; while a drive less than 180 yards might not leave an angle to the green on your second shot. There's a reason this is the hardest hole on the course.
.jpg)
Hole #6
The sixth is a longer par 4 with out of bounds and a grove of trees to the left & trees right. A drive over a large mound in the fairway leaves a mid to long iron into a well guarded green. This large green gives you a great opportunity to make a putt.

Hole #7
The only par 3 on the front. This shorter hole requires an accurately placed tee ball to this 2-tiered green. This is another hole where past the pin is a no-no. If you are lucky enough to join us on a day when the “Old Blue Tee” is in play, we can stretch the hole out to over 285 yards with this tee. A very different hole than what is printed on the card.
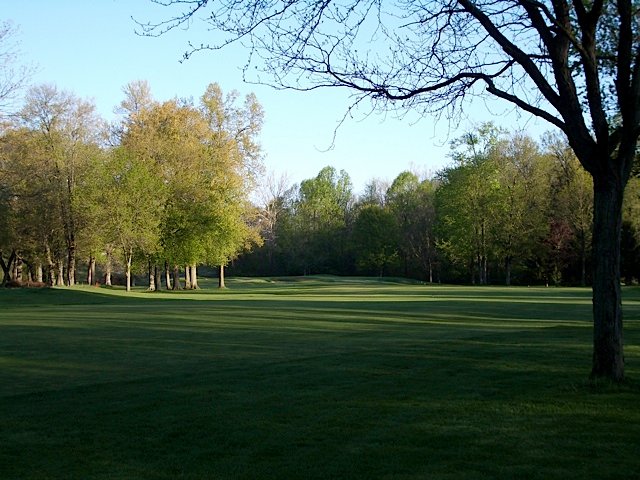
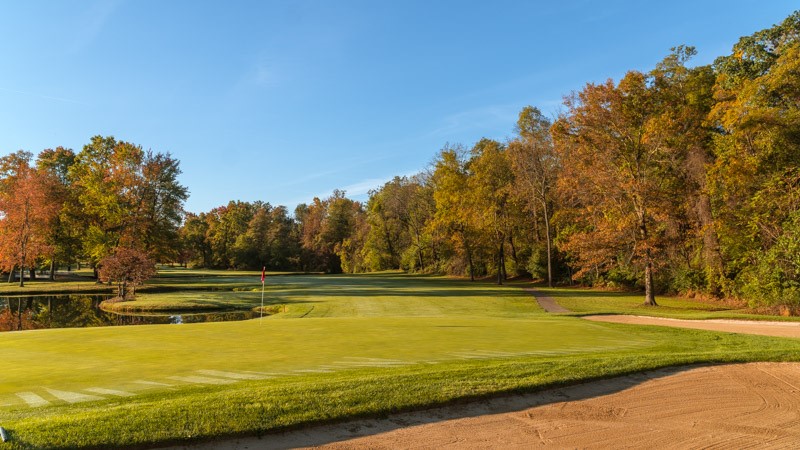
Hole #8
The tee box for this par 4 sits 15 yards below the fairway making it a difficult driving test and make the hole play much longer than the 376 on the scorecard. You'll find the green is one of our deepest on the course, but awfully narrow.
.jpg)
Hole #9
Finish up the front nine with a hole to take advantage of. Downhill tee shot leads to a downhill approach. Be care, Out of Bounds runs down the left side of the hole to catch those errant tee shots. However, once the drive is in play, there is a green light to go for the pin. Watch out for missing long on your second shot as out bounds runs behind the green.
Hole #10
A traditional northeastern style golf hole starts the back side. A landing area that gets increasingly narrow the further you hit your tee shot. Driver may not be the play off the tee as the hole is one of the short holes on the course. The elevated green makes club selection on the second shot a challenge.
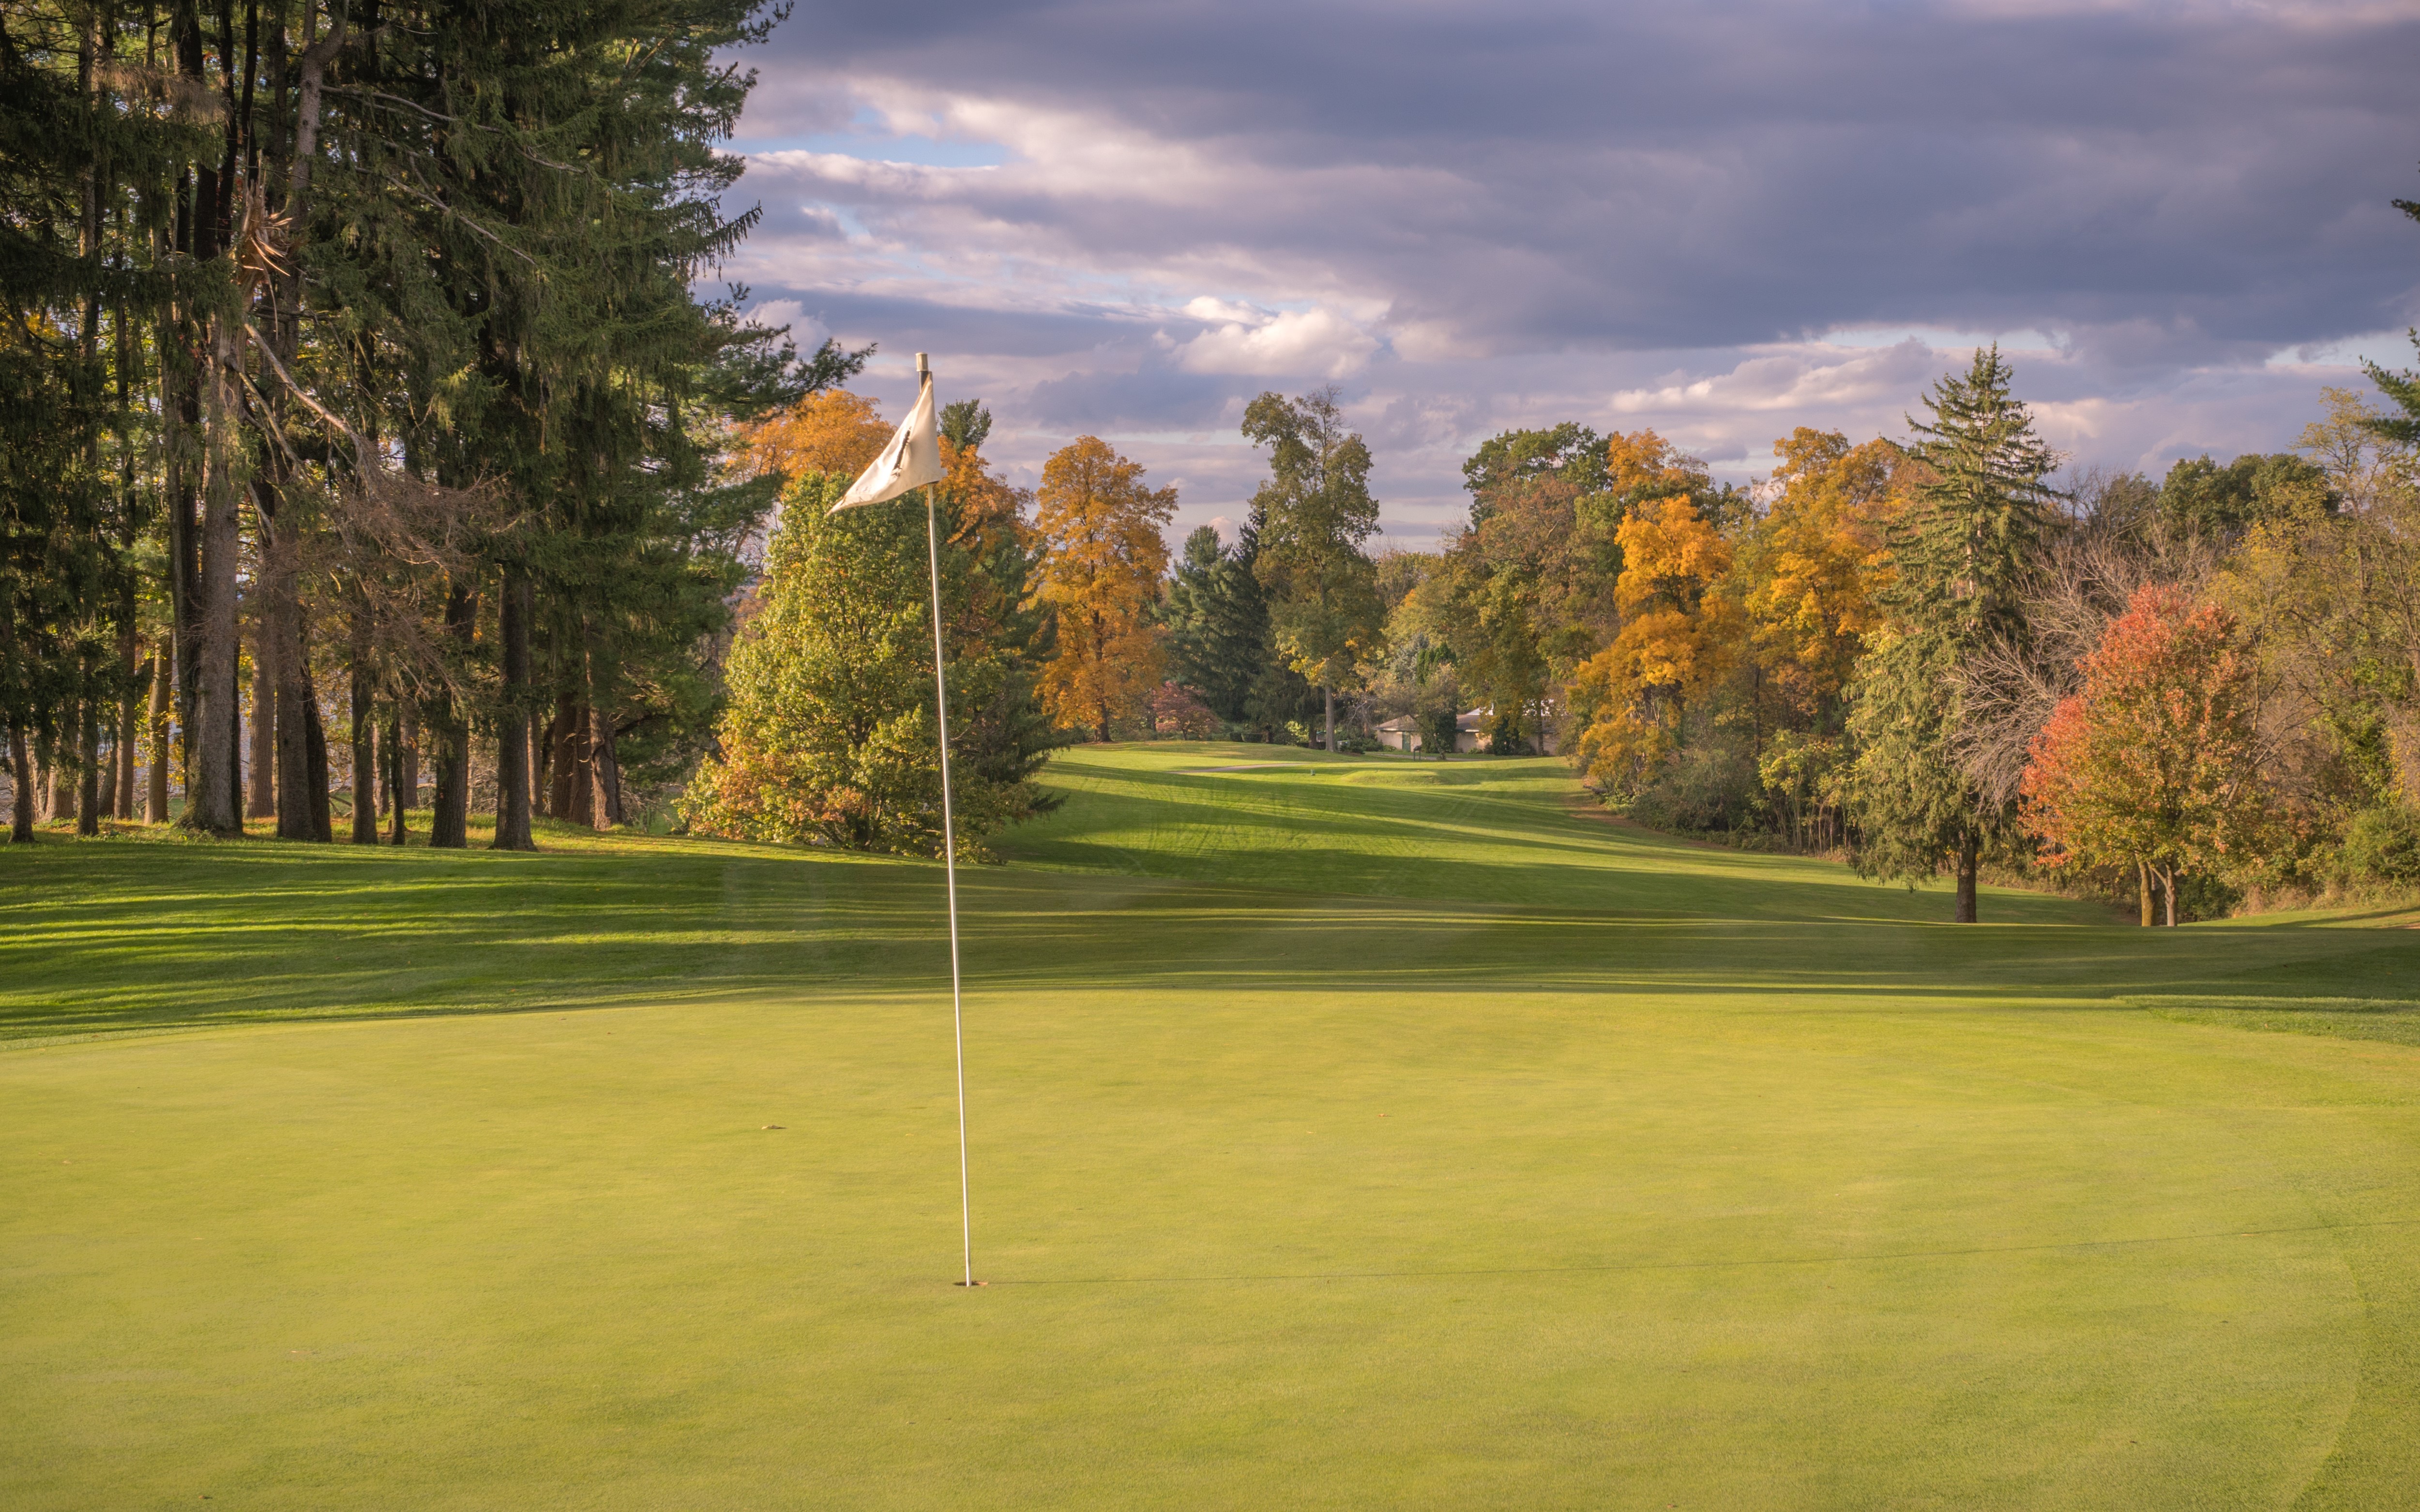
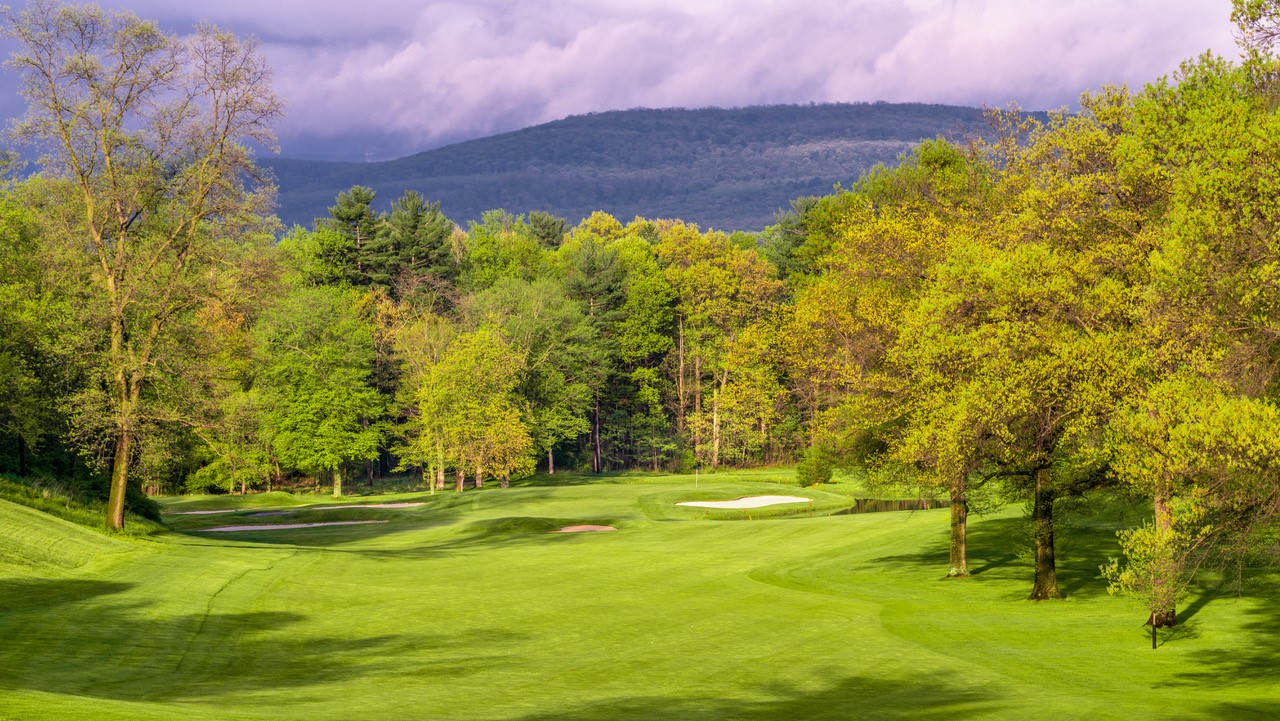
Hole #11
The most photographed hole at CCC. Don't let this hole's beauty distract you from its difficulty. The tee box is elevated 25 yards above the green which is guarded by numerous bunkers. The local’s tip is to play the same club you played on number 7, regardless of the yardage. A par is a great score on this hole any day.
Hole #12
This is a daunting par 4. From the tee, hazards are everywhere (left, center, and right). If you can avoid them on your tee shot, a 2nd shot must avoid a water hazard that guards the right side of the green. It is just as easy on this hole to make a 6 as it is a 4.
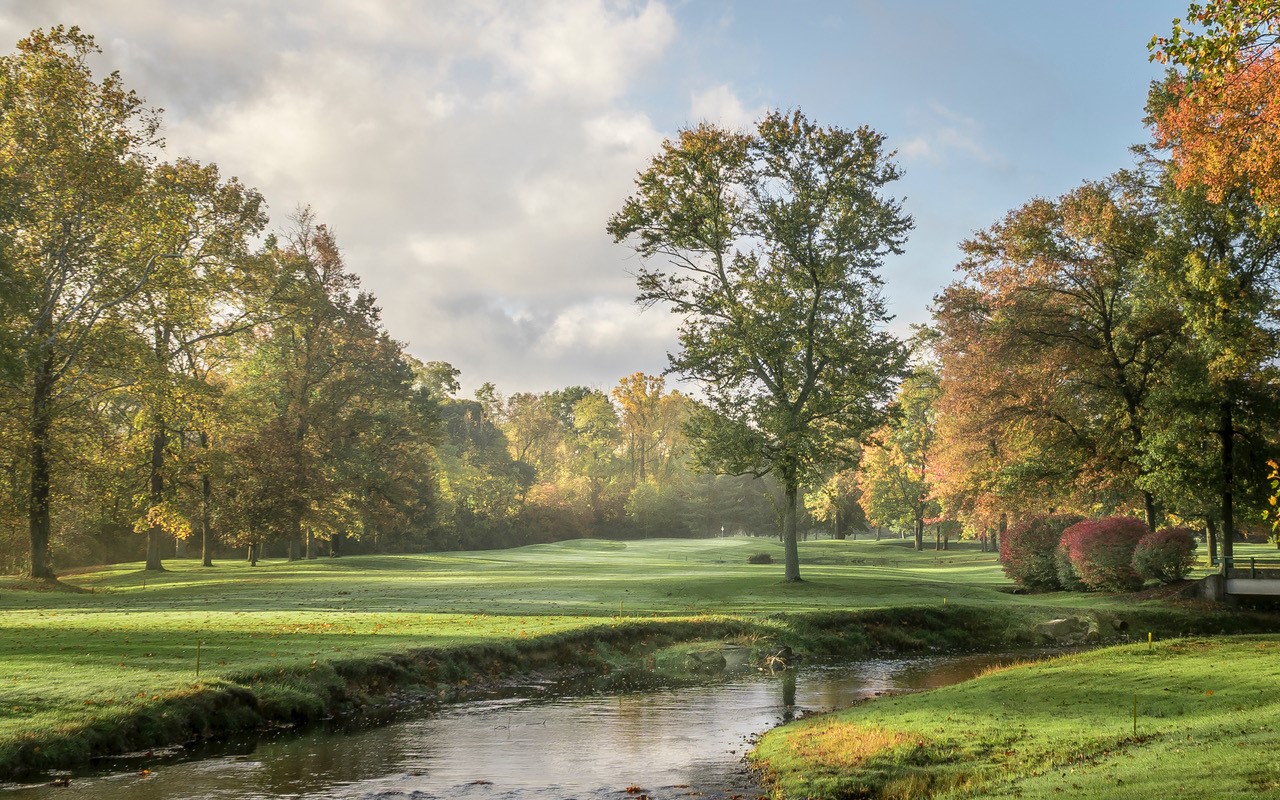
Hole #13
A great risk vs. reward, short par 4. The aggressive player can choose to hug the water to leave a short chip shot into the green. The conservative player could use any mid to long iron to lay-up and avoid the water right. The longest hitters may even attempt a drive at the green to have a chance at eagle! Multiple greenside bunkers protect the green and provide a challenge on the approach shot. How will you play the hole?
.jpg)
Hole #14
Hole #15

Hole #16
Hole #17
.jpg)